

DVT DAY 203

Wednesday, and today needed to start with breakfast followed by training as today our garden man was due to arrive this afternoon. There was also another good reason to get training in early and that was the new grill element was due to arrive today and that meant I was going to enter into DIY mode with the range. So I spent an early hour sweating in the shed and determined to get to the end of the hour. I was pleased to survive and returned to the house to play with my new WIFI headphones, connecting them to my laptop and my phone, discovering on the way that Spotify plays automatically allowing me to hands free “groove around” the kitchen while I sized up the task in front of me. All my research tells me I am going to have to take the back of the cooker off to access the wiring of the grill element. That in itself is not a problem but what is a pain in the butt is the filth and grease that will have accumulated over the years since it was installed.
I was right. It was a war zone, muck and grease encrusted on the floor, walls and the sides of the adjacent kitchen units. So it was out with the kitchen cleaner, scourers and hot water to clean the area out. Of course the cooker had to be unchained from the wall before it would ease its way out into the main part of the kitchen. Once freed from its greasy moorings the cooker was striped of pans and shelves to give me access to the burnt out elements. Fuse off of course.
The first step is to get to the back of the cooker and remove the casing hiding the wiring to the element.
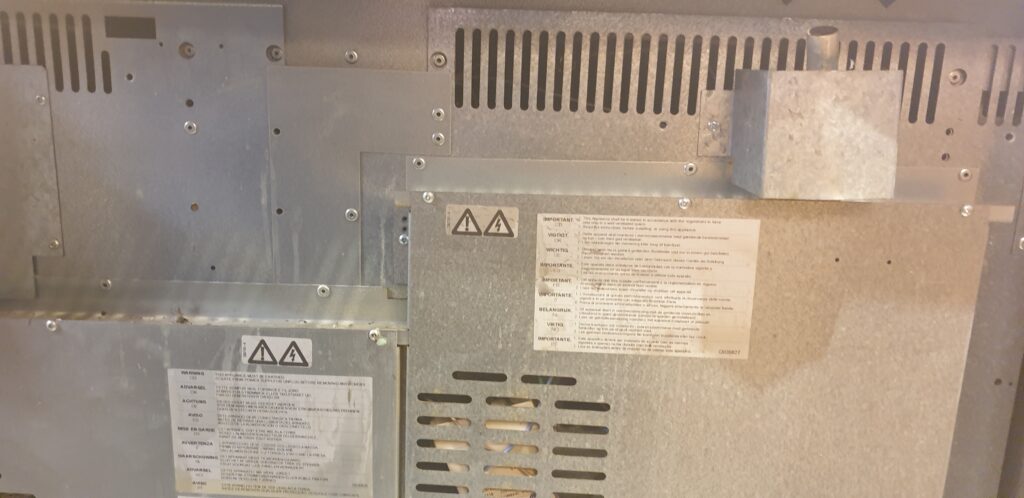
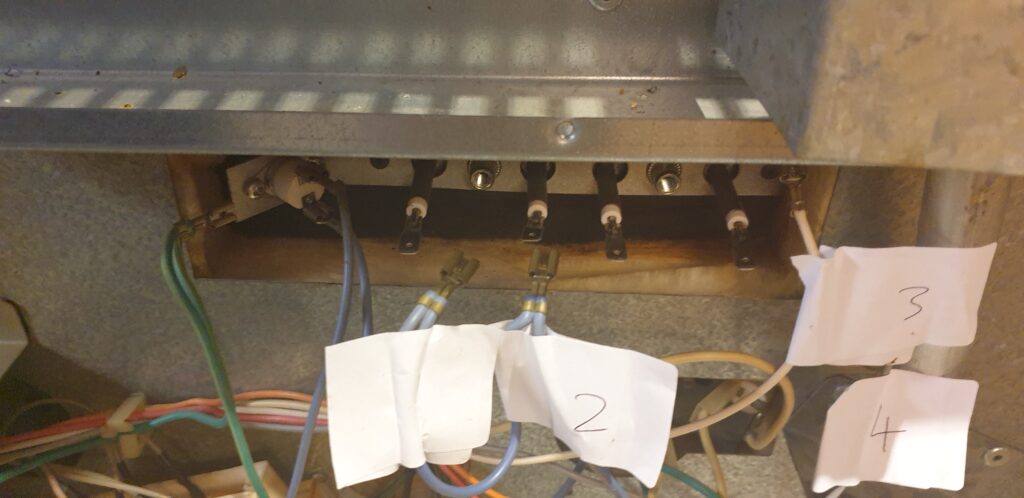
So here we go, simply take the back cover off. This little cover was sneaky and used two types of screw, lucky I noticed, but it came away easily to expose the wiring to the element.
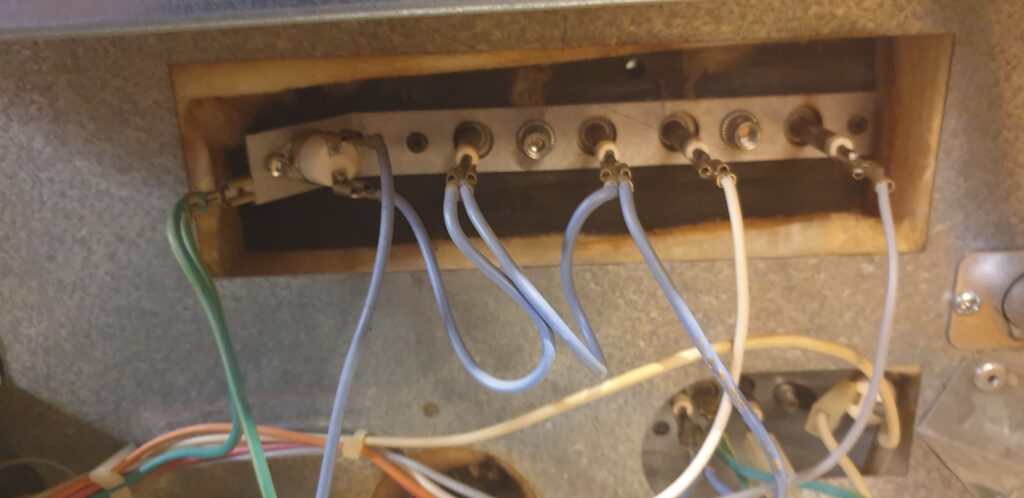
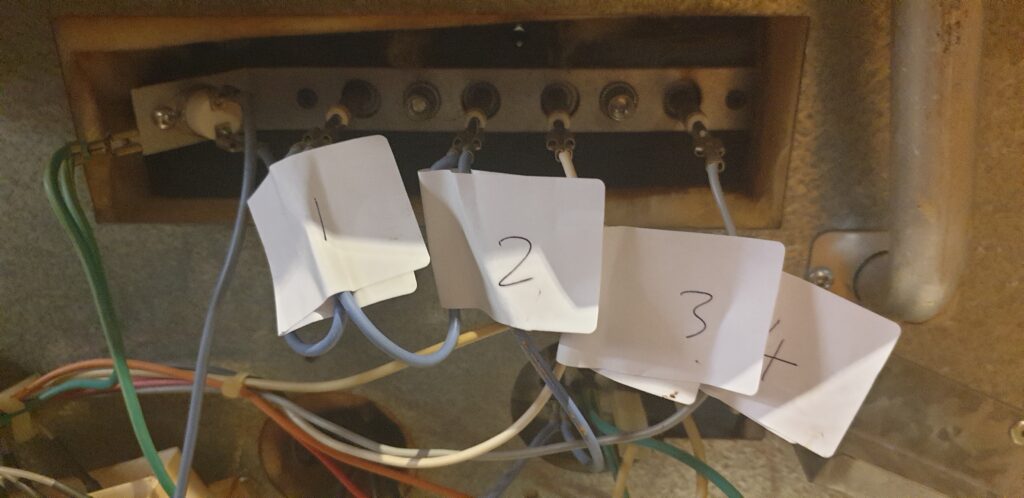
Being kind of obsessive I take the extra precaution of labeling the wiring. Never can be too careful.
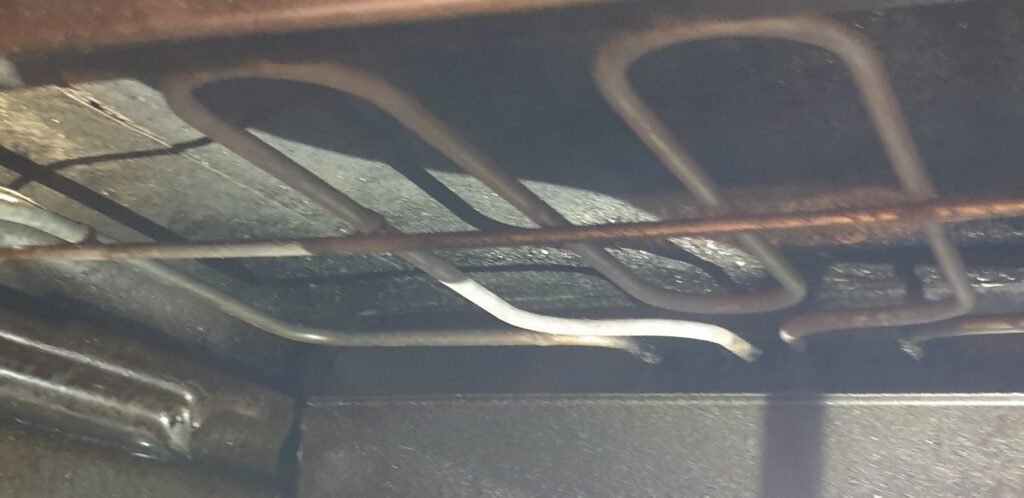
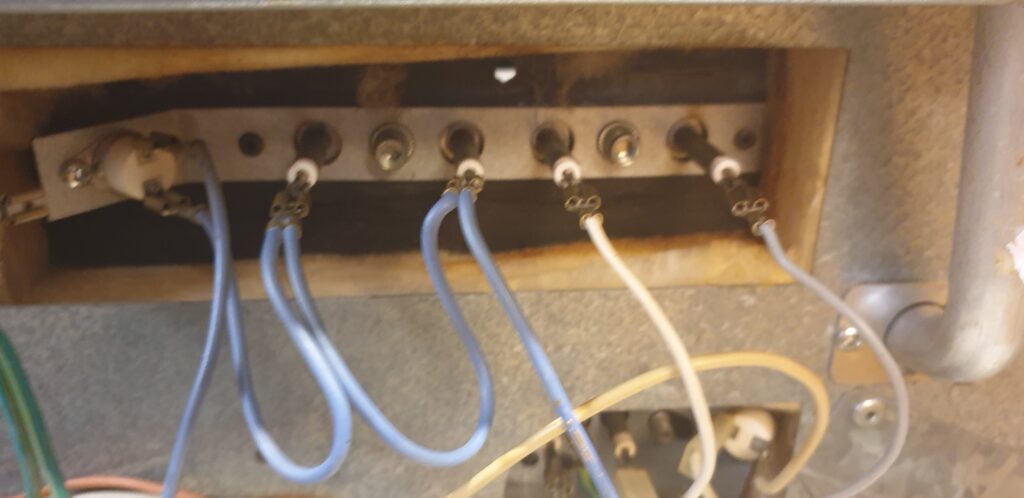
I then returned to the front of the cooker and started to remove the retaining bar and then the screws that retain the element. The first retaining screw fell behind the rear oven plate so that had to be taken out as well. More grease and muck to clean. The second screw came out easily enough, allowing the new one to be slid into place and secured. So far so good. So its returning to the rear of the cooker I rewire the new element contacts.
So now its all about putting everything back and securing it all. I do all this and start to repair the light on the cooker hood which had not been working for sometime. I discover the glass on one of them is in four bits so naturally I reach for the glue to find there is not any in the garage. I abandon home and drive to the local Wickes and buy glue, filing my partners car up on the way back.
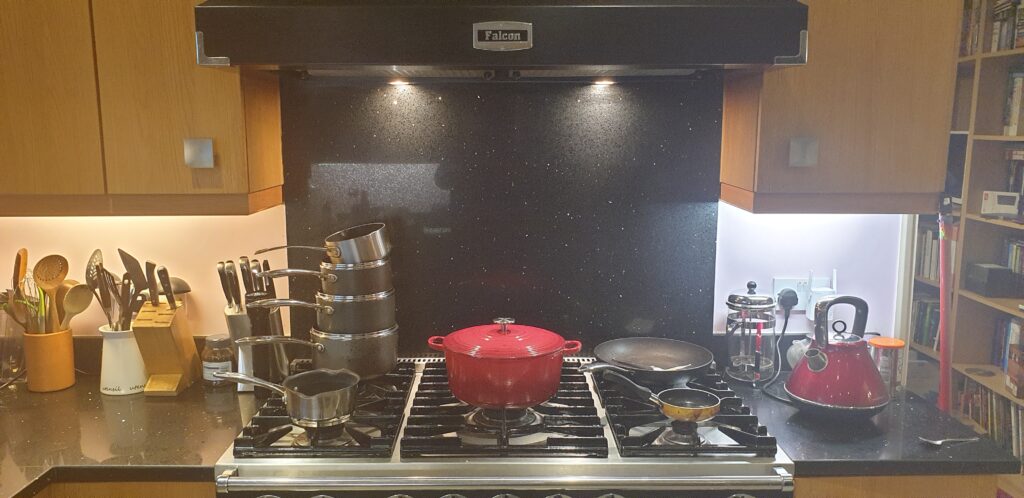
So at last the job is done and I put everything back and go and flick the fuse back on. No loud bang, that’s a good sign, as is the oven lights working and the cooker hood light coming on. I put everything back and take a celebratory photo.
As I finish the job our garden guy has arrived and is mowing the lawns. I put away my tools and flop on the sofa to rest and check my e-mails and take a couple of calls. It feels like a long day already as I ease into NCIS having closed up the shed for the night and said farewell to garden man. In front of TV I eat tea and settle down to watch the last episode of the Great British Bake Off, bread week. I have to say there was nothing that blew me away but I did get the urge to make soda bread with some sort of weird flavouring. This done I settle down to write the blog. Tomorrow I have an open forum to look forward to and another training session to get through.